Whether that means adding text on top of the image or applying some shadows or other effects, you can do a lot to improve an already-useful image. One option you have is to place a border on the picture. Our guide below will help you make a Google Slides image border on a picture that is already in one of your slides.
How to Create a Google Slides Image Border
Now that you know how to create a Google Slides image border you will be able to apply this method to other pictures in other presentations. When you place a picture or a shape in a slide in Google Slides, you may think that you have finished that part of your presentation, even if you haven’t gone through our guide yet on how to see speaker notes on Google Slides to include those on the slide when you present. But as you go back and make adjustments and add some polish to the document, you may find that the picture seems to be missing something, or that it feels out of place with the rest of your work. While there are a number of different ways that you can modify a picture, one modification that can have a strong impact is the addition of an image border. It can make the image seem a little more polished, while also helping it to fit into the rest of the slide thematically. Our tutorial below will show you how to add and format a border on a picture in Google Slides.
How to Put a Border Around a Picture in Google Slides (Guide with Pictures)
The steps in this article were performed in Google Chrome, but will also work in the desktop version of Firefox, Internet Explorer, Edge, and other Web browsers. This tutorial assumes that you already have a picture on a slide, and that you want to add a border to that picture.
Step 1: Sign into your Google Drive at https://drive.google.com/drive/my-drive and open the Slides file containing the picture to which you want to add a border.
Step 2: Select the slide containing the picture from the column at the left side of the window.
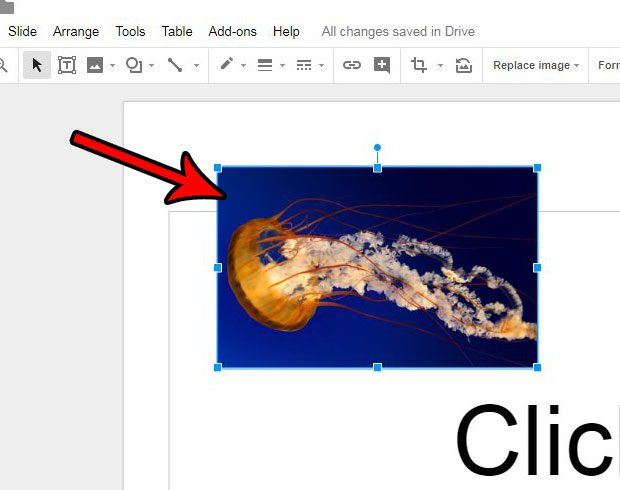
Step 3: Click on the picture in the slide to select it.
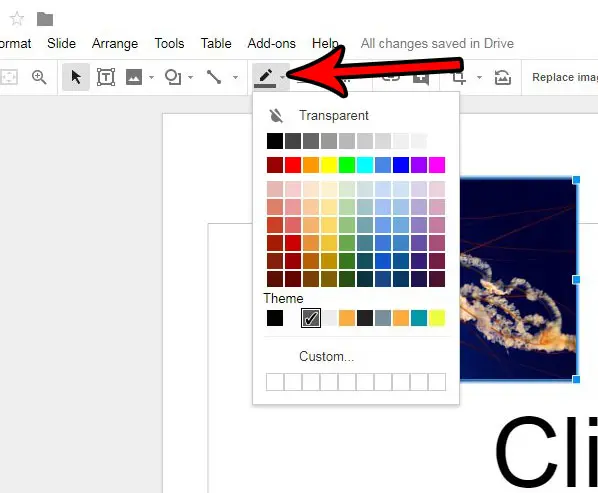
Step 4: Click the Border color button in the toolbar at the top of the window, then select the desired color of the border.
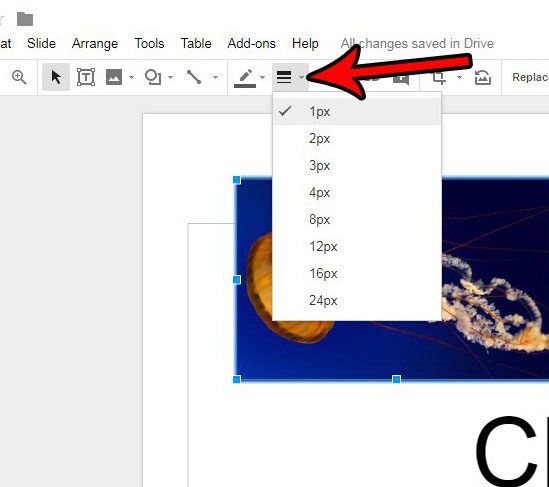
Step 5: Click the Border weight button and choose the desired thickness of the image border.
Step 6: Click the Border dash button and choose the desired style of the image border.
Our guide continues below with additional discussion about picture borders in slideshows. Do you need to edit out part of your picture, but you don’t want to do so in a separate program? Find out how to crop a picture in Google Slides and make it a little easier to perform the simple edits that you will occasionally need to do on the pictures you use in slideshows.
More Information About Adding a Border to an Image in Google Slides
By adjusting the border settings when you add borders to your pictures you can easily apply decorative borders to the photos in your Google Slides presentation. For example, the combination of a border color that matches the content in an image, along with varying border widths and border styles, provides a large selection of custom borders. You don’t need to stick with a thin solid border with a primary color. You can use the border tools for other Google Slide objects as well. One popular option involves a shape border. You can add a shape in Google Slides if you click Insert at the top of the window, choose the Shape option, then click on your desired shape from the dropdown menu. You can then draw the shape on the slide. Once you have created the shape you can click on it to select it, then click the Fill color icon to change the color of the shape. You can also start adding borders to your shapes the same way that we did for our pictures above; just click the Border color button in the toolbar. The remove shape border process is the same as removing a customized border from a picture – you can click on the shape with the border to select it, then click the Border color button and choose the Transparent option.
Additional Sources
How to import slides from another Google Slides presentation How to download a Google Slides presentation as a Powerpoint file How to change layer order in Google Slides
After receiving his Bachelor’s and Master’s degrees in Computer Science he spent several years working in IT management for small businesses. However, he now works full time writing content online and creating websites. His main writing topics include iPhones, Microsoft Office, Google Apps, Android, and Photoshop, but he has also written about many other tech topics as well. Read his full bio here.
You may opt out at any time. Read our Privacy Policy