Fortunately Excel makes this possible by providing a footer content option that removes the existing information from that location. Our guide below will show you where to find that option, as well as how you can remove the bottom margin and the footer margin from your printed pages, if needed.
How to Remove a Footer from an Excel 2013 Spreadsheet
The steps in this guide will show you how to delete the existing footer data from a worksheet. Step 1: Open your spreadsheet in Excel 2013. Step 2: Click the Page Layout tab at the top of the window.
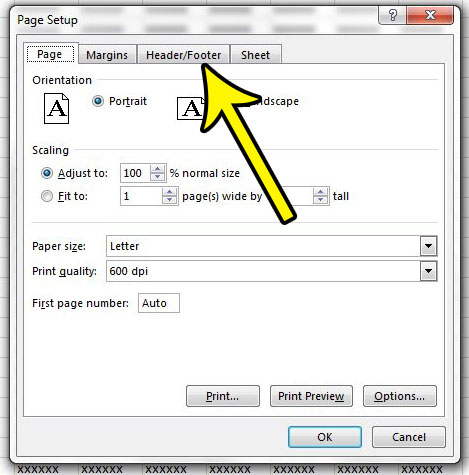
Step 3: Click the small Page Setup button at the bottom-right corner of the Page Setup section of the ribbon.
Step 4: Click the Header/Footer tab.
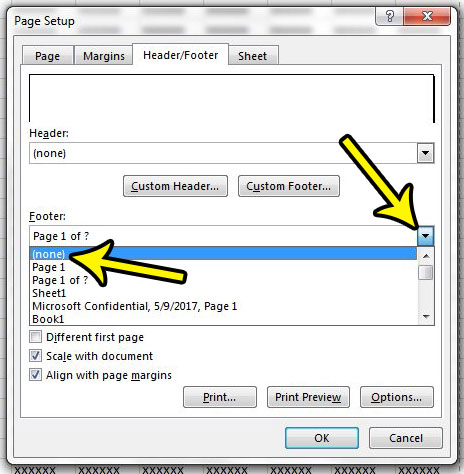
Step 5: Click the dropdown menu under Footer, then scroll to the top of the list and select the (none) option. Click the OK button at the bottom of the ribbon when you are done.
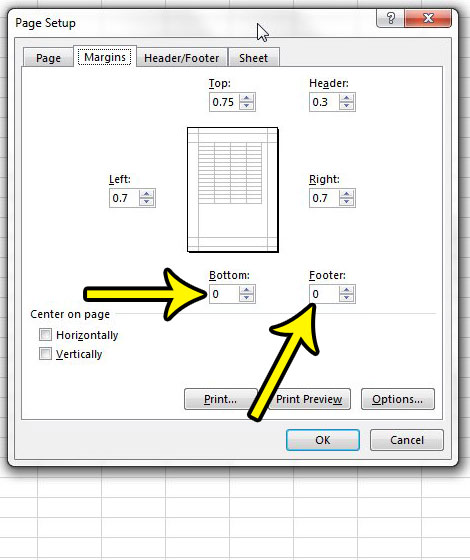
If you are trying to remove the section of the page where the footer would print, instead of actually deleting the content of the footer, then you can accomplish this by changing the bottom margin to 0. You can do this by clicking the Page Layout tab, clicking the Margins button, clicking Custom Margins, then setting the Bottom and Footer values to 0.
Are you having difficulty getting your Excel spreadsheet to print properly? Read our guide on printing in Excel 2013 for some tips and tricks that can eliminate some of the frustration that comes with trying to print your spreadsheets. He specializes in writing content about iPhones, Android devices, Microsoft Office, and many other popular applications and devices. Read his full bio here.