Setting Up FaceTime on the iPad 2
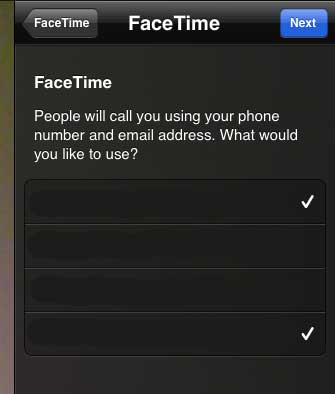
If you have already set up FaceTime on your iPad 2 and it is prompting you for your Apple ID login information, then you may have turned off Facetime in your Settings menu. You can turn it back on by following these steps. Note that you will need your Apple ID information to complete this process but, if you do not yet have one, you can create one during the process of configuring FaceTime on your iPad 2. Step 1: Tap the Settings icon. Step 2: Tap the FaceTime option at the left side of the screen. Step 3: Move the slider to the right of FaceTime from Off to On. But you can also follow the steps below to set up the FaceTime app and add the capabilities to your Apple ID on the iPad 2. Step 1: Tap the FaceTime icon on your home screen. Step 2: Type your Apple ID and password into their appropriate fields, then tap the Sign In button. Step 3: Select each of the listed phone numbers or email addresses through which you would like to allow people to contact your for a FaceTime call, then tap the Next button. It will take a few seconds to verify your choices, then your contacts will be displayed in a list at the right side of the screen. You can tap the name of a contact, then select their email address of phone number to initiate a FaceTime call. If you also have an iPhone 5, you can make FaceTime calls from that devices as well. It is a little different however, because there is no FaceTime app on the iPhone 5. After receiving his Bachelor’s and Master’s degrees in Computer Science he spent several years working in IT management for small businesses. However, he now works full time writing content online and creating websites. His main writing topics include iPhones, Microsoft Office, Google Apps, Android, and Photoshop, but he has also written about many other tech topics as well. Read his full bio here.
You may opt out at any time. Read our Privacy Policy


