This is a really helpful tool if you have a form letter or a template that requires the current date. It’s an easy thing to forget to change manually, so the ability to have the date update automatically can be very convenient. Our tutorial below will show you how to find this option.
How to Add the Date in Microsoft Word
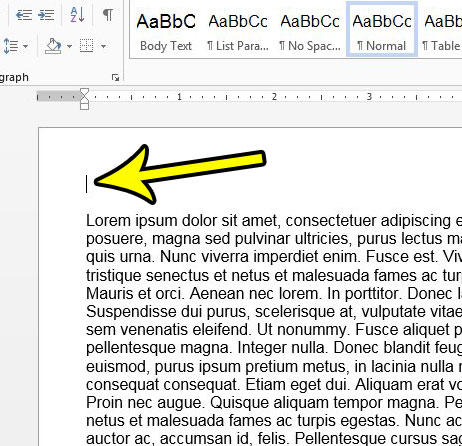
The steps in this article were performed in Microsoft Word 2013. By following the steps in this guide you will insert the date into your document in a way that it will update automatically based on the current date. We will be adding the date to the body of the document, but these same steps can also be used to add the date to the header or footer of the document as well. Step 1: Open your document in Microsoft Word. Step 2: Position your cursor at the point in the document where you wish to add the date.
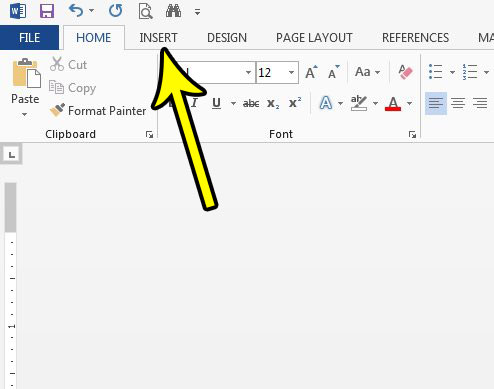
Step 3: Click the Insert tab at the top of the window.
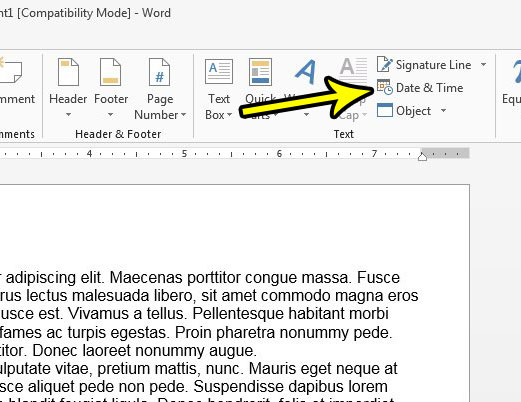
Step 4: Click the Date & Time button in the Text section of the ribbon.
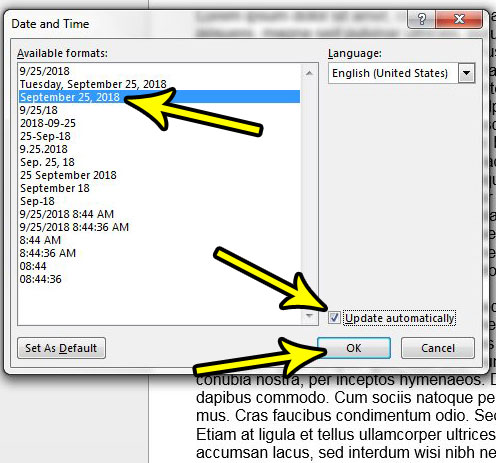
Step 5: Choose the date format you want from the column at the left side of the window, then check the box to the left of Update automatically. Click the OK button at the bottom of the window when you’re finished.
Are you worried about losing data if Word crashes or your computer turns off? Find out how to increase the auto-save frequency in Word so that versions of the document are saved more frequently. He specializes in writing content about iPhones, Android devices, Microsoft Office, and many other popular applications and devices. Read his full bio here.