Powerpoint 2010 has become a very capable program that you can use to customize nearly every element of your presentation. In fact, you may have previously been using other programs, such as Microsoft Paint, to edit pictures. But there are a lot of edits to images that you can make from directly within Powerpoint 2010 itself. This includes adjusting the opacity of an image, which means that it is possible for you to make a picture transparent. So you can adjust the transparency of an image on a Powerpoint slide, while simultaneously seeing how it will look in relation to the rest of the objects on that slide. Do you need to use your Powerpoint presentation on multiple different computers? Put it on a flash drive and make it even easier to access from any computer with Powerpoint.
Picture Transparency in Powerpoint 2010
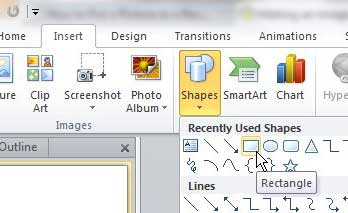
There are multiple reasons why you might want to make a picture transparent but, regardless of your goal, it can be a very beneficial adjustment to an existing image. For example, if you have a background picture in your presentation, then you would be able to place an image on a slide, while still leaving the background image visible. So continue reading below to see how you can make any picture transparent in your Powerpoint slideshow. Step 1: Open the Powerpoint presentation into which you want to insert a transparent image. Step 2: Click the slide from the column at the left side of the window that you want to use. Step 3: Click the Insert tab at the top of the window, click Shapes, then click the Rectangle option. You may need to adjust the settings on the Drawing Tools – Format tab to set your desired shape fill color and outline color. These options can be found on the Shape Fill and Shape Outline drop-down menus in the Shape Styles section of the ribbon.
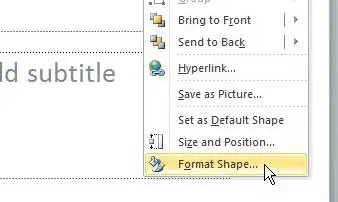
Step 4: Right-click the shape you just created, then click Format Shape.
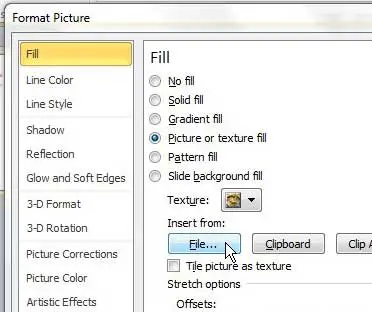
Step 5: Click the Picture or or texture fill option, then click the File button at the center of the window.
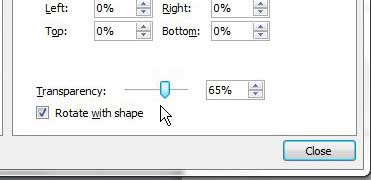
Step 6: Select the picture that you would like to make transparent. Note that the Format Picture window will still be open. Step 7: Drag the Transparency slider at the bottom of the Format Picture window until the image is at the desired level of transparency.
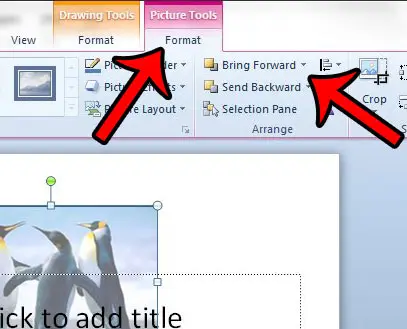
If you need to adjust the way that objects are aligned with one another on the slide you can use the Bring Forward and Send Backward options in the Arrange section of the ribbon on the Picture Tools – Format tab.
Summary – How to make a picture transparent in Powerpoint
Tips
If the Format Picture window is blocking your picture, making it difficult to see your picture’s transparency, you can click the horizontal bar at the top of the Format Picture window to drag it to a different location. The higher the number in the field to the right of the Transparency slider, the more transparent the picture will be. You can adjust the layering of the elements in your slide using the Bring Forward and Send Backward options on the Picture Tools tab. This can be helpful if you want a text layer to appear above your transparent picture.
Do you have a font that you want to use in your slideshow, but can’t figure out how? Learn how to add new fonts in Powerpoint 2010 by installing the fonts in Windows. After receiving his Bachelor’s and Master’s degrees in Computer Science he spent several years working in IT management for small businesses. However, he now works full time writing content online and creating websites. His main writing topics include iPhones, Microsoft Office, Google Apps, Android, and Photoshop, but he has also written about many other tech topics as well. Read his full bio here.
You may opt out at any time. Read our Privacy Policy