Fortunately this is possible by changing the current view that is being used in your spreadsheet. Our guide below will show you how to select the view that allows you to set your column width in inches, then we will show you how to change a column width. If you don’t want to manually set your column width, then our tutorial on how to make all columns the same width in Google Sheets can help you out.
How to Use Inches as the Unit for Setting Column Width in Excel 2013
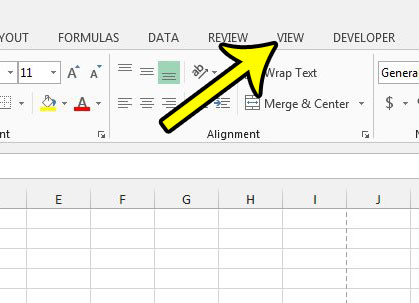
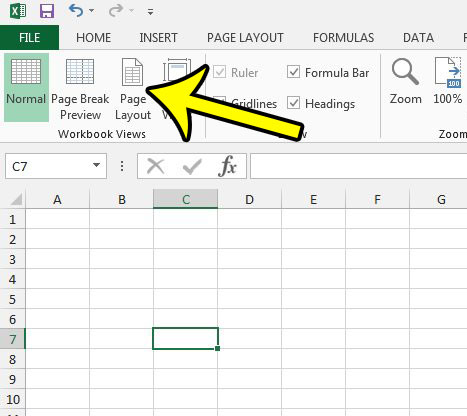
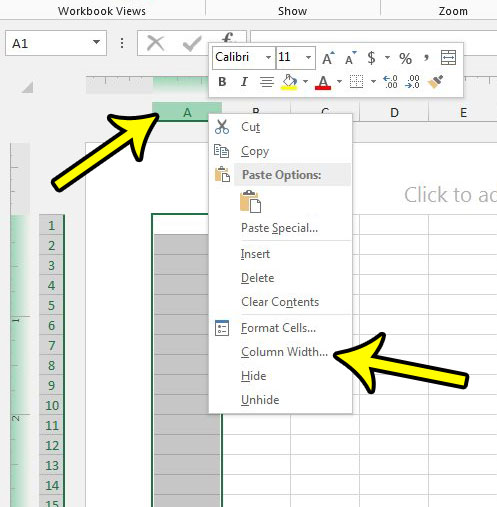
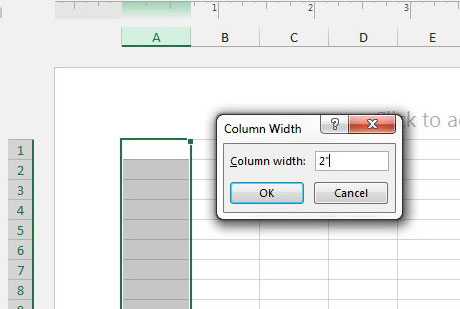
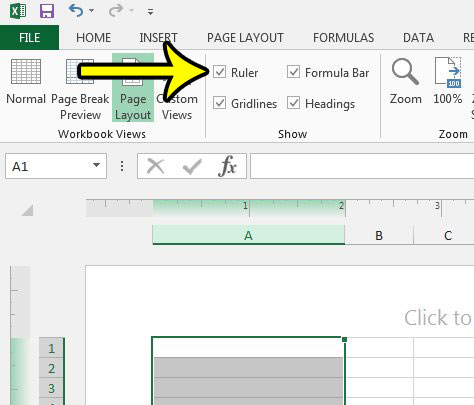
The steps below were performed in Microsoft Excel 2013. This tutorial will assume that you already know the inch width that you wish to use for your columns. If not, and you would prefer to have a ruler visible to assist you in setting your column widths in inches, then you can enable the rule by checking a specific option that we will point out at the end of this article. Step 1: Open your spreadsheet in Excel 2013. Step 2: Click the View tab at the top of the window. Step 3: Click the Page Layout button in the Workbook Views section of the ribbon. Step 4: Right-click the column heading for which you would like to set the column width in inches, then click the Column Width option. Step 5: Type the inch value that you wish to use for the column, then click the OK button. If you don’t see a ruler above your spreadsheet, but would like to use it to help in determining your column widths, then check the box to the left of Ruler in the Show section on the View tab. Are you having trouble getting your spreadsheet to print properly? Read our guide to printing in Excel and see some tips that can make it much simpler to fix some of the more common issues that can arise when printing a worksheet in Excel. He specializes in writing content about iPhones, Android devices, Microsoft Office, and many other popular applications and devices. Read his full bio here.
