This disparity between information in cells in the same row can look somewhat odd, but it can be improved by vertically centering the data in other cells in that row. This is accomplished with the Middle Align feature, which will take data in a selected cell and display it in the vertical middle of the cell. This can be applied to any number of selected cells by following our short tutorial below.
Apply Vertical Centering to Selected Cells in Excel 2010
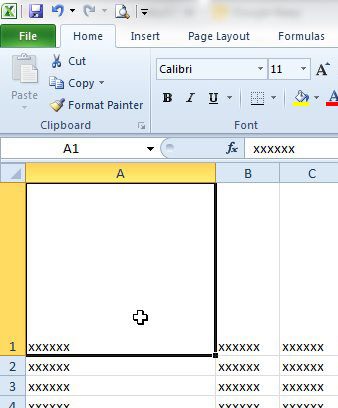
We will be vertically centering cell data in a single cell in our guide below, but the same method can be applied to any group of selected cells in Excel 2010. It can even be done to an entire spreadsheet, if you have selected all of the cells. This article can show you how to select all of the cells in a spreadsheet if you do not know how. Step 1: Open your spreadsheet in Excel 2010. Step 2: Select the cell containing the information that you want to center vertically. As mentioned previously, you can select multiple cells, rows or columns instead of a single cell.
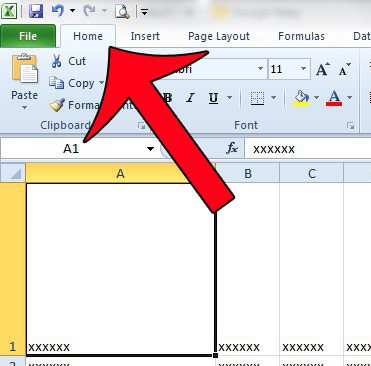
Step 3: Click the Home tab at the top of the window.
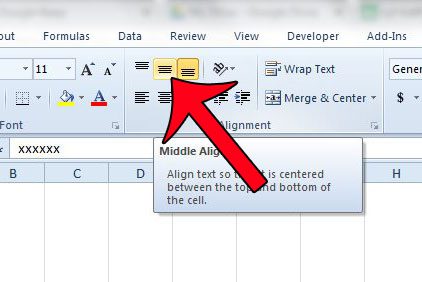
Step 4: Click the Middle Align button in the Alignment section of the ribbon at the top of the window.
Would you like to simultaneously center all of the text in a column horizontally? Read here to find out how to do it in Excel 2010. After receiving his Bachelor’s and Master’s degrees in Computer Science he spent several years working in IT management for small businesses. However, he now works full time writing content online and creating websites. His main writing topics include iPhones, Microsoft Office, Google Apps, Android, and Photoshop, but he has also written about many other tech topics as well. Read his full bio here.
You may opt out at any time. Read our Privacy Policy