Our guide below will show you how to zip a Powerpoint file that you have created. This creates a new file, with a .zip file extension.
Put a Powerpoint Presentation in a Zip File in Windows 7
The steps in this article were performed in Windows 7, with a file created in Powerpoint 2010. These same steps can also be used to place other types of files or folders into a zip file. While zipping a Powerpoint file will almost always reduce the size of the file, it may not reduce it enough to make an extremely large Powerpoint file small enough to be sent through email. One good option for this situation is to upload the file to Dropbox, then share a link to the Dropbox file instead. If you do not already have a Dropbox account, you can sign up for one for free. Step 1: Locate the Powerpoint file that you wish to put into a zip file.
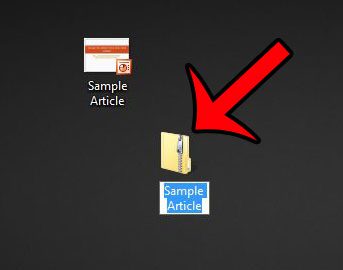
Step 2: Right-click the Powerpoint file, click Send to, then click Compressed (zipped) folder.
Step 3: Change the name of the file (if desired) then press Enter on your keyboard.
If you are trying to reduce the size of a Powerpoint file so that you can easily share it, then you should also consider compressing pictures in the presentation. Pictures and other media typically represent the majority of the file size in a Powerpoint presentation, and optimizing those pictures can occasionally help to reduce the file size. After receiving his Bachelor’s and Master’s degrees in Computer Science he spent several years working in IT management for small businesses. However, he now works full time writing content online and creating websites. His main writing topics include iPhones, Microsoft Office, Google Apps, Android, and Photoshop, but he has also written about many other tech topics as well. Read his full bio here.