This might have led you to ask how can you zoom to a specific area of data in an Excel spreadsheet? While you might have investigated some options that involved some interesting window placements or window cropping, there is actually an option in Excel that lets you do exactly this without doing anything other than selecting the desired area and clicking a button.
How Can You Zoom to a Specific Area of Data in an Excel Spreadsheet?
Our guide continues below with additional information on how to zoom to a specific area in Exel, including pictures of these steps. When you really want to focus on a specific part of a spreadsheet in Microsoft Excel 2010, it can be hard to concentrate because of the other data that remains in view. Sure, you can always hide certain rows and columns so that they are still part of the spreadsheet, but not visible, but this can create problems later if you forget to unhide that data. One other method that you can attempt is to select a portion of the worksheet, then zoom to that selection. Excel will automatically adjust the size of the selection to fill the Excel window, which can often achieve the effect that you want. This can also be a helpful action when you are sharing your screen in a presentation and are having difficulty identifying the data about which you are talking. Find out how to unzoom an Apple Watch if the zoom level increased and you are having trouble looking at or interacting with the device.
How to Zoom in on a Section of Selected Cells in Excel 2010 (Guide with Pictures)
The steps in this article will show you how to select a specific group of cells in your Excel worksheet, then zoom the view so that the selection fills the window. Note that if you have a large monitor and you do not select a lot of data, then Excel will make the selected data very large.
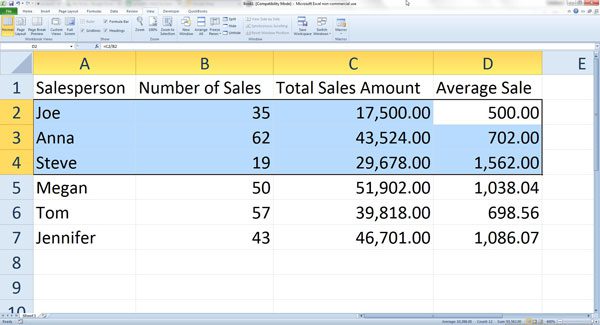
Step 1: Open your spreadsheet which contains the data on which you wish to zoom.
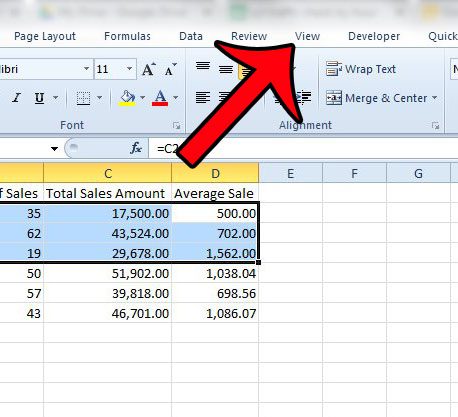
Step 2: Use your mouse to select the cells on which you wish to zoom.
Step 3: Click the View tab at the top of the window.
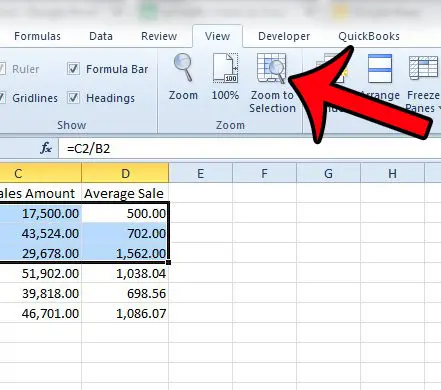
Step 4: Click the Zoom to Selection button in the Zoom section of the ribbon at the top of the window.
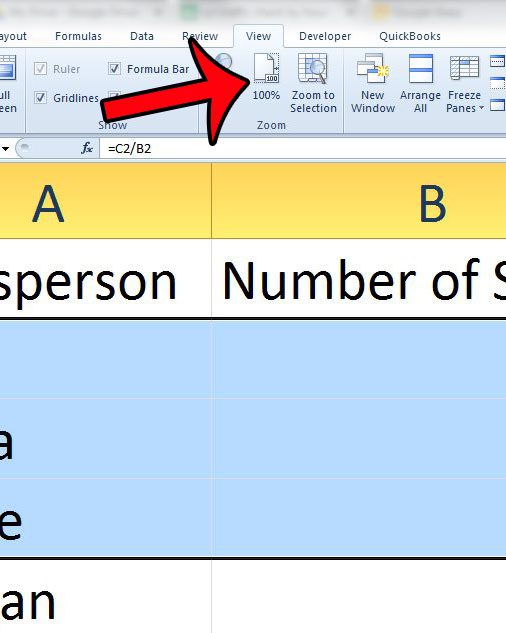
The selected data should then fill your Excel window. Once you are done zooming in on the data, you can click the 100% button in the Zoom section of the ribbon to return to the normal-sized window. Now you should know the answer to how can you zoom to a specific area of data in an Excel spreadsheet so that you can take advantage of this feature the next time that you want to focus on part of a spreadsheet. Do you need to print from your spreadsheet, but you only want to print some of the data? Click here to learn about the changes that you need to make on the Print menu so that you only print the cells that you have selected.
Additional Sources
After receiving his Bachelor’s and Master’s degrees in Computer Science he spent several years working in IT management for small businesses. However, he now works full time writing content online and creating websites. His main writing topics include iPhones, Microsoft Office, Google Apps, Android, and Photoshop, but he has also written about many other tech topics as well. Read his full bio here.