How to Get a SkyDrive Folder in Windows 7
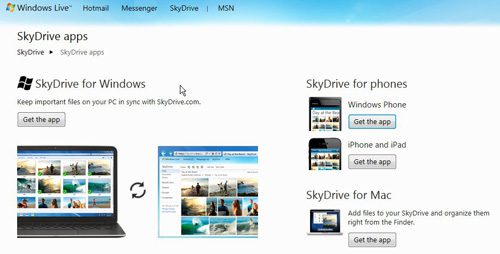
If you have not already created a Windows Live ID, that is the first step necessary to get a SkyDrive folder in Windows 7. Creating a Windows Live ID is a free process, so follow this link to create your account. Once you have completed the process of creating your Windows Live ID, you then need to go to the SkyDrive page and sign in with the Windows Live ID that you just created. You will then see a page that looks like the image below.
Click the Get the SkyDrive App for your PC or Mac in the blue section at the top of the window to download the SkyDrive folder in Windows 7. This will take you to the download page for the SkyDrive folder, where you will need to click the Get the app button under SkyDrive for Windows. You will note that there are also other options, such as SkyDrive for phones and SkyDrive for Mac. If you wish to install a SkyDrive folder on any of these devices, simply navigate to this page from that device to download the appropriate app.
After you click the Get the app option under SkyDrive for Windows, you will be redirected to another page where you must click the Download button at the center of the window.
Click the Run button to download the SkyDriveSetup.exe file, which will launch automatically after the download is complete.
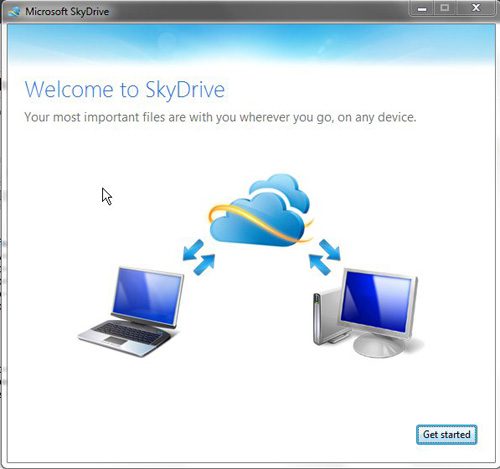
Once the SkyDrive installation process has completed, you are only a few short steps from getting the SkyDrive folder in Windows 7. The screen shown below will appear on your screen once the installation has completed, so click the Get started button at the bottom-right corner of the window.
Enter the Windows Live ID and corresponding password that you created earlier, then click the Sign In button. After your successful sign in, you will be shown a screen that tells you that the SkyDrive folder in Windows 7 is located at the following address on your computer: C:\Users\Your User Name\SkyDrive After you click the Next button, you will be shown a screen that informs you that if you want to have the files on this computer available to you on other devices, check the box to the left of Make files on this PC available to me on my other devices. Now that you have finished getting the SkyDrive folder in Windows 7, you can start adding files to this folder in the same manner as you would add any files to any other folder on your computer. For quick access, click the Windows Explorer icon in your taskbar, then click the SkyDrive folder in the column at the left side of the window.
Files added to this folder will automatically be synced with your SkyDrive, as well as other devices on which you have downloaded the SkyDrive app. After receiving his Bachelor’s and Master’s degrees in Computer Science he spent several years working in IT management for small businesses. However, he now works full time writing content online and creating websites. His main writing topics include iPhones, Microsoft Office, Google Apps, Android, and Photoshop, but he has also written about many other tech topics as well. Read his full bio here.