In some cases a smaller page scale can be helpful for fitting a specific need but, more often than not, you will modify a document with the intention of printing it at its’ default size. Fortunately it is a simple change in order to fix the page size in Word 2013.
Print at the Correct Page Size in Word 2013
The steps below are specifically for Microsoft Word 2013, but the same idea applies to earlier versions of Word as well. If a document is printing very small, then it is due to the page size being set at a smaller size than the paper size that you are actually using. The steps below will show you how to switch the page size to the size of the paper that you are actually using, so that it prints as it should. Step 1: Open the document in Word 2013. Step 2: Click the Page Layout option at the top of the window.
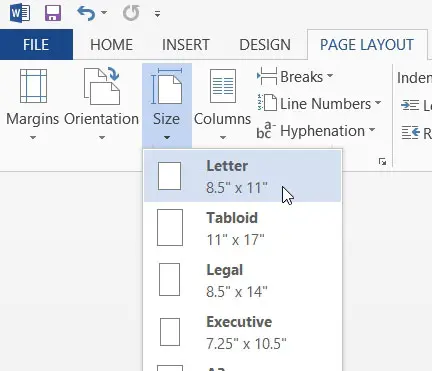
Step 3: Click the Size button in the Page Setup section of the navigational ribbon, then select the size of paper on which you are actually printing your document.
The layout of your pages should now reflect how they will appear when you print them on the correct paper size. You can click the File tab at the top-left of the window, then click Print to see a preview of the document. Do you need to add page numbers to your document? Learn how with this article. After receiving his Bachelor’s and Master’s degrees in Computer Science he spent several years working in IT management for small businesses. However, he now works full time writing content online and creating websites. His main writing topics include iPhones, Microsoft Office, Google Apps, Android, and Photoshop, but he has also written about many other tech topics as well. Read his full bio here.
You may opt out at any time. Read our Privacy Policy